
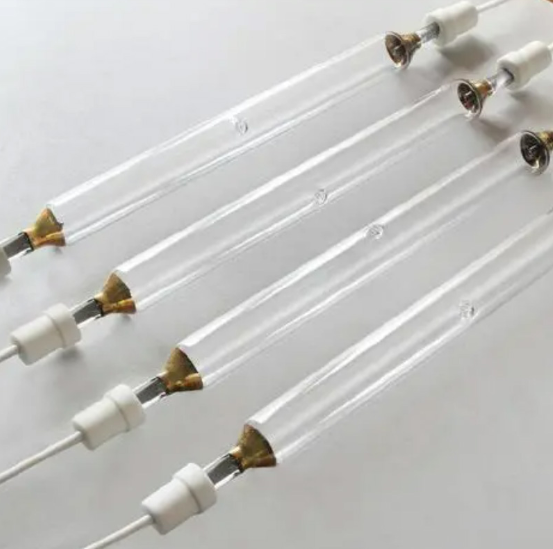
Getting the Most Out of Gallium Iodide Lamps
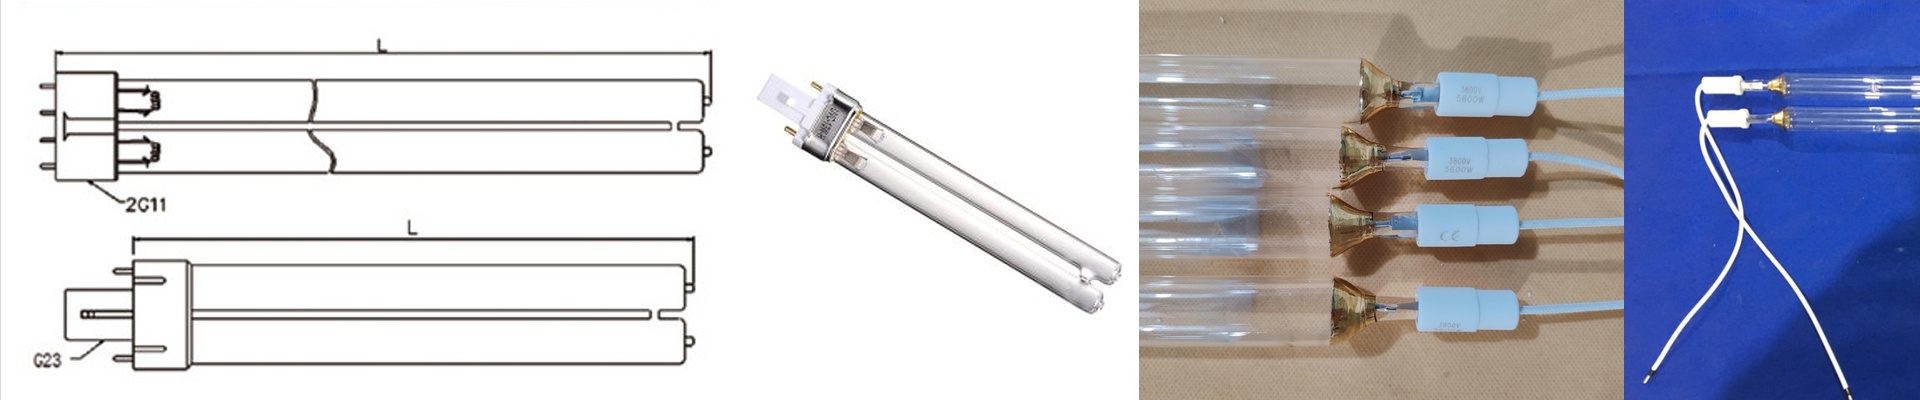
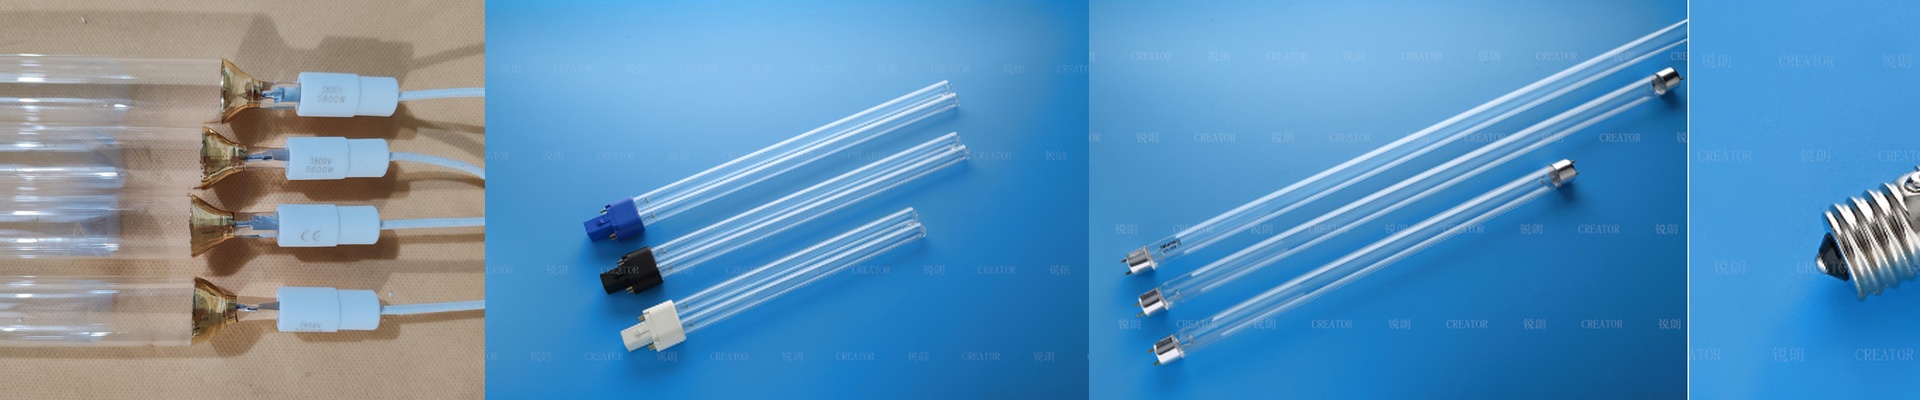
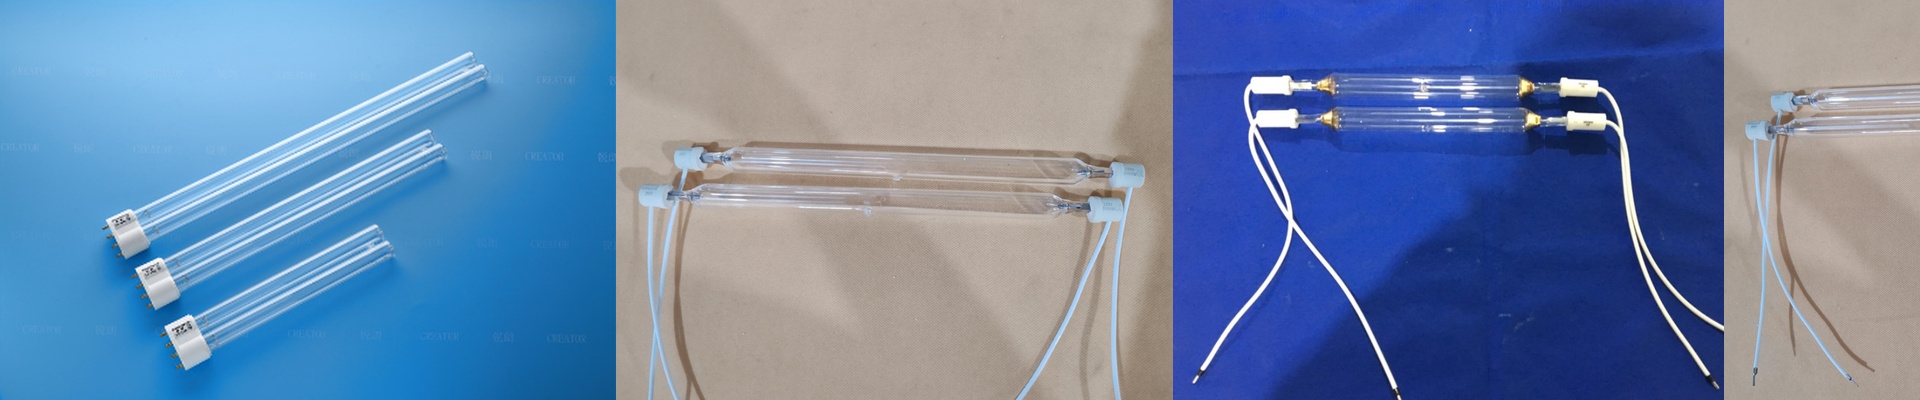
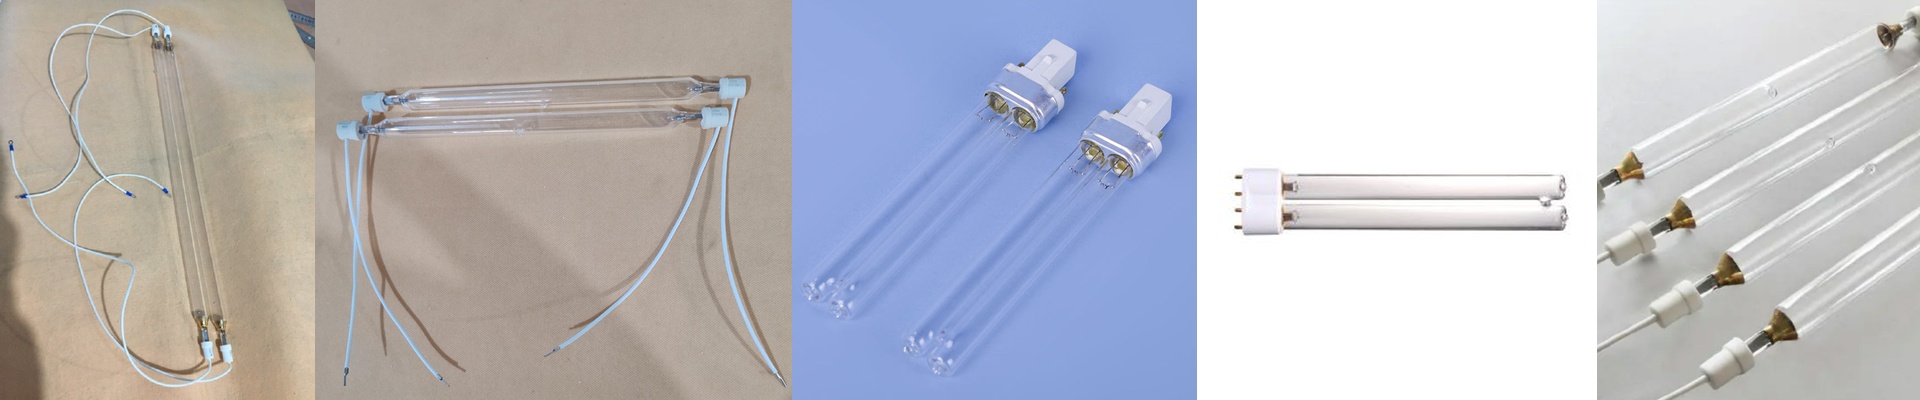
If you’ve spent any time with standard mercury vapor tubes, you know the drill. But gallium iodide lamps? They’re a different beast entirely. We design these to push the light toward longer wavelengths—specifically that 300nm to 450nm sweet spot. Why does that matter? Because it lets the light actually get into the material. While standard UV often just bounces off the surface, gallium iodide digs deep. It’s the tool you want when you’re dealing with thick ink layers or coatings that just refuse to set. The struggle with “skinning” We’ve all seen it. You run a heavy print with a mercury lamp, and the top dries instantly while the bottom stays wet. It’s called “skinning,” and it’s a nightmare. Gallium iodide fixes this. It provides the kind of energy that penetrates the substrate, making sure the ink actually bonds to the material instead of just sitting on top. If you’re working with high-pigment white inks or those thick UV varnishes, this is what keeps your work from peeling off down the road. A word of caution: They run hot Really hot. To get those gallium atoms excited, you need a lot of energy density. This means you can’t just slap these in and forget about the cooling. You’ll need to make sure your chillers or air-blowers are actually up to the task. If the housing overheats, your UV intensity drops and you’ll burn through your quartz envelope way faster than you should. Fitting them into your shop The good news is that you don’t have to tear apart your entire curing station. We’ve made these as drop-in replacements. For the most part, they fit the same footprints as your existing arrays, so you aren’t spending your weekend rewiring everything. Just do yourself a favor and double-check that your ballast can handle the voltage and current that gallium chemistry requires. The trade-off Nothing is perfect. Gallium lamps take a bit longer to warm up than mercury ones. You can’t just flip a switch and hit full speed immediately. My advice? Give them a pre-heat cycle. Let the output stabilize first. It takes a few extra minutes, but it beats having the first few passes of your print run come out uneven.