
Getting Your UV Curing Right (Without the Headaches)
Let’s be honest: nobody actually cares about the “science” of a UV tube until something goes wrong. You’ve probably been there. You pull a part off the line and it’s still tacky to the touch, or you run a scratch test and the coating just peels right off. That usually happens because the light isn’t hitting the right spot. We don’t spend our time trying to make “better” light. That’s too vague. Instead, we obsess over the exact nanometer range. If the wavelength is off by even a little, your photoinitiators won’t trigger. It’s like trying to start a car with the wrong key—it just won’t happen.
The Battle Against Burnout
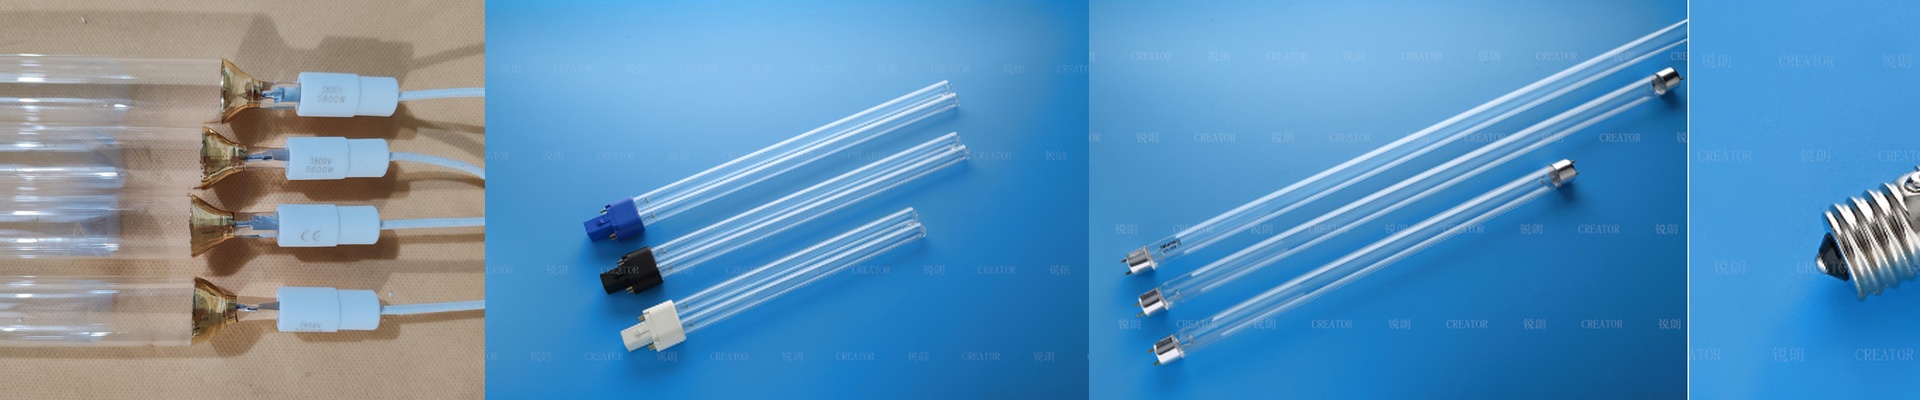
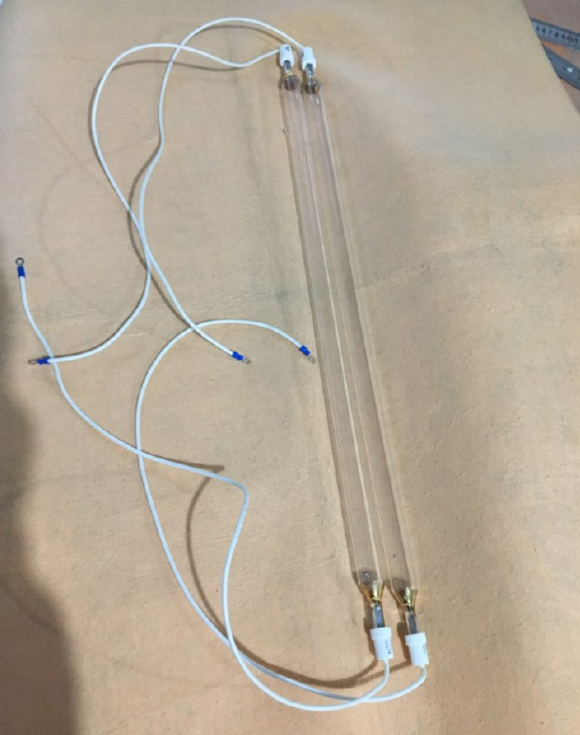
If you’ve used mercury tubes before, you know that cloudy, burnt-out look. That’s tungsten filaments evaporating and coating the inside of the glass. Once that happens, your UV output tanks. To stop that, we use a specific alloy mix in the cathodes. It slows down the evaporation, which means the tube lasts longer. But there’s a catch. To get that high intensity, we have to crank up the internal pressure. That makes the tube run hot.**Really hot.**If your cooling fans aren’t pulling that heat away from the glass, you’re going to see the quartz soften or the ends fail way sooner than they should.
The Secret Sauce: Glass and Gas
We use high-purity fused quartz because it keeps the tube clear. You won’t get that “solarization” fog that usually creeps in after a few hundred hours. Then there’s the gas. We play around with the ratios of argon and krypton to shift how the mercury discharge behaves. And we don’t just fill them up and call it a day. We calibrate the vacuum levels carefully. Why? Because an unstable arc flickers. And if your light is flickering while your product is moving down a conveyor belt, you’re going to get uneven curing. That’s a nightmare for quality control.
Putting it to Work
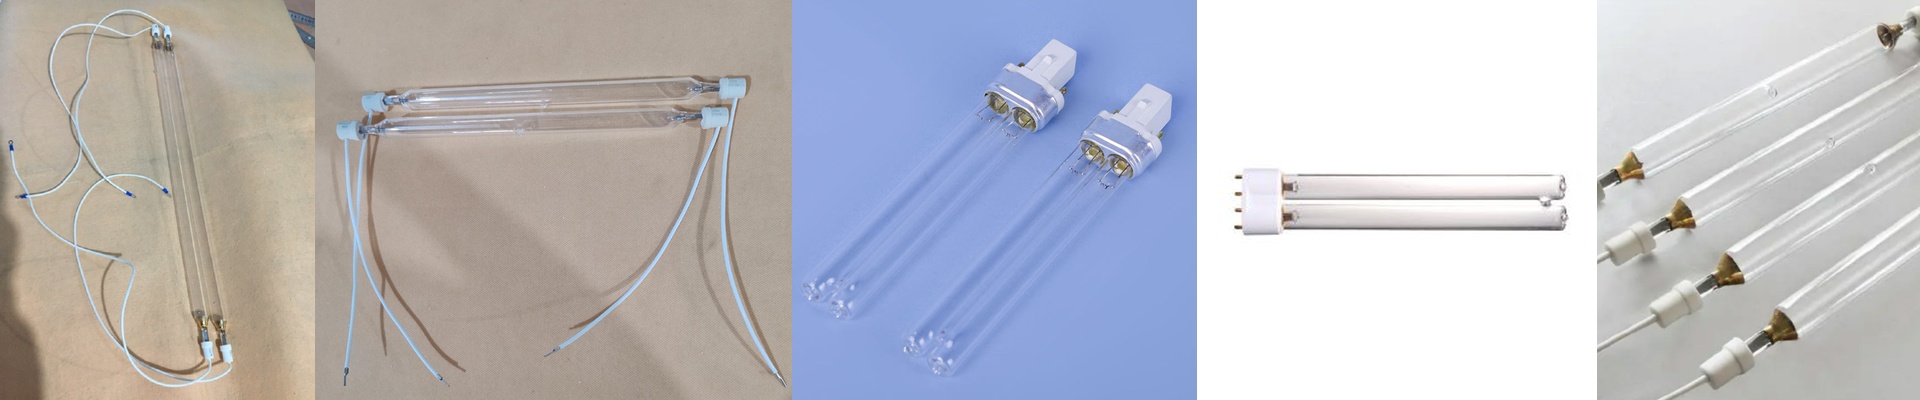
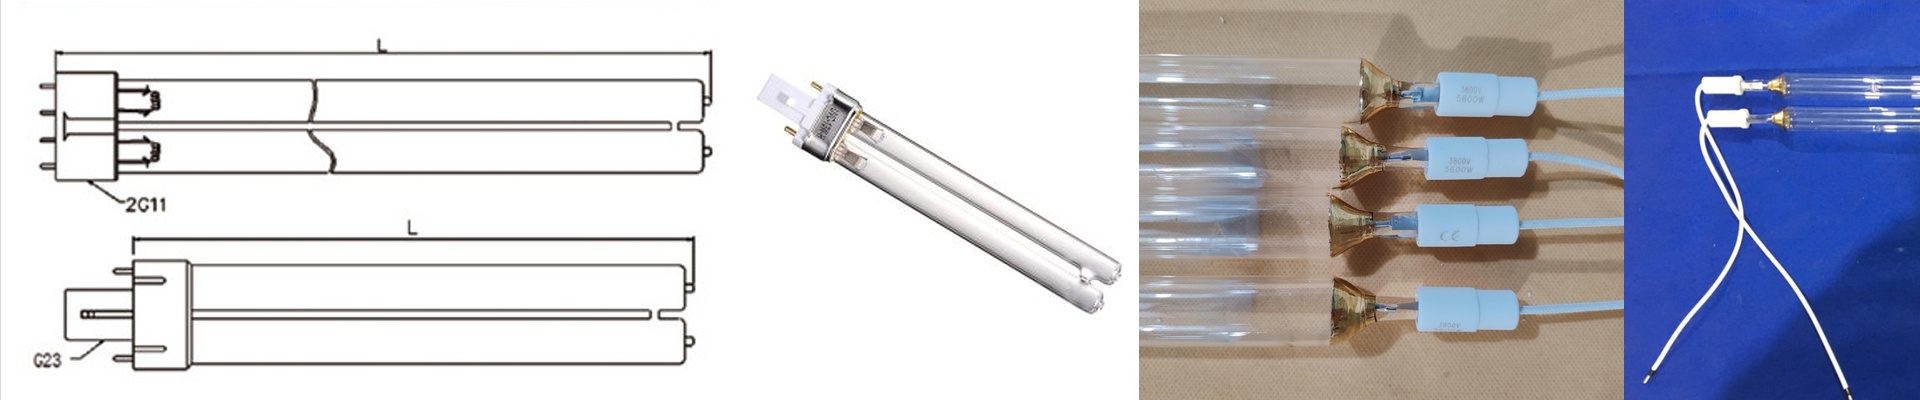
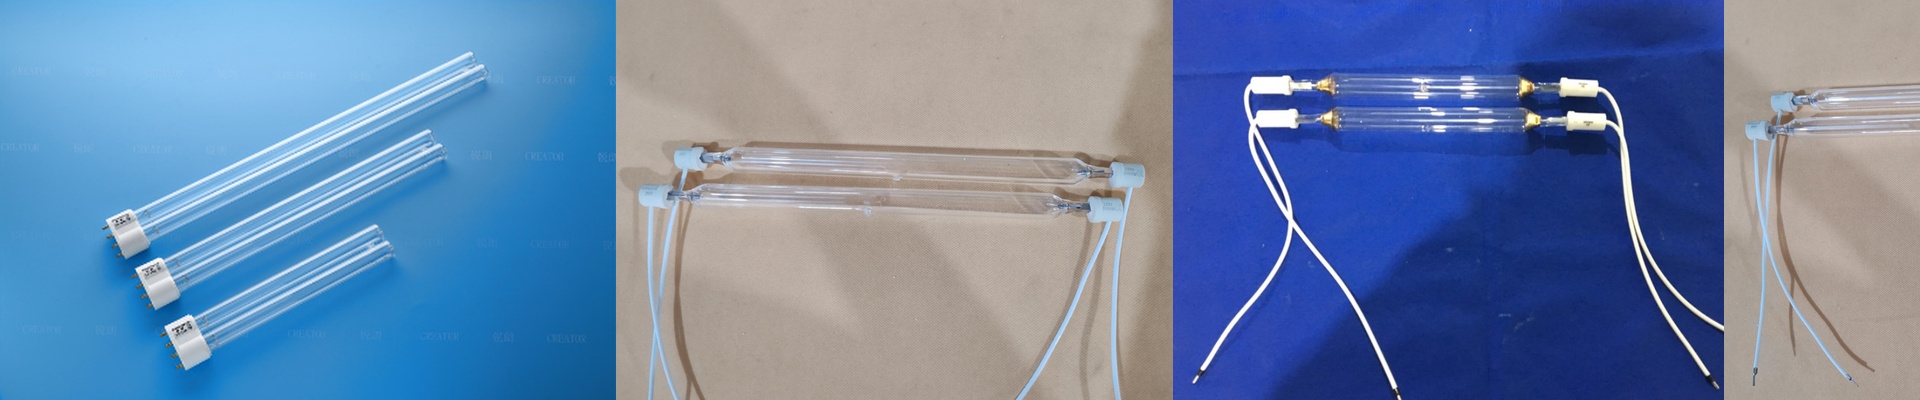
We designed these to be simple drop-in replacements. The footprints are tight, so you can slide them in without having to mess around with your reflectors or rewire your whole setup. Just one tip: double-check that your ballast matches the startup voltage. If they aren’t in sync, you’ll blow a fuse the second you flip the switch. Not a great way to start the morning.