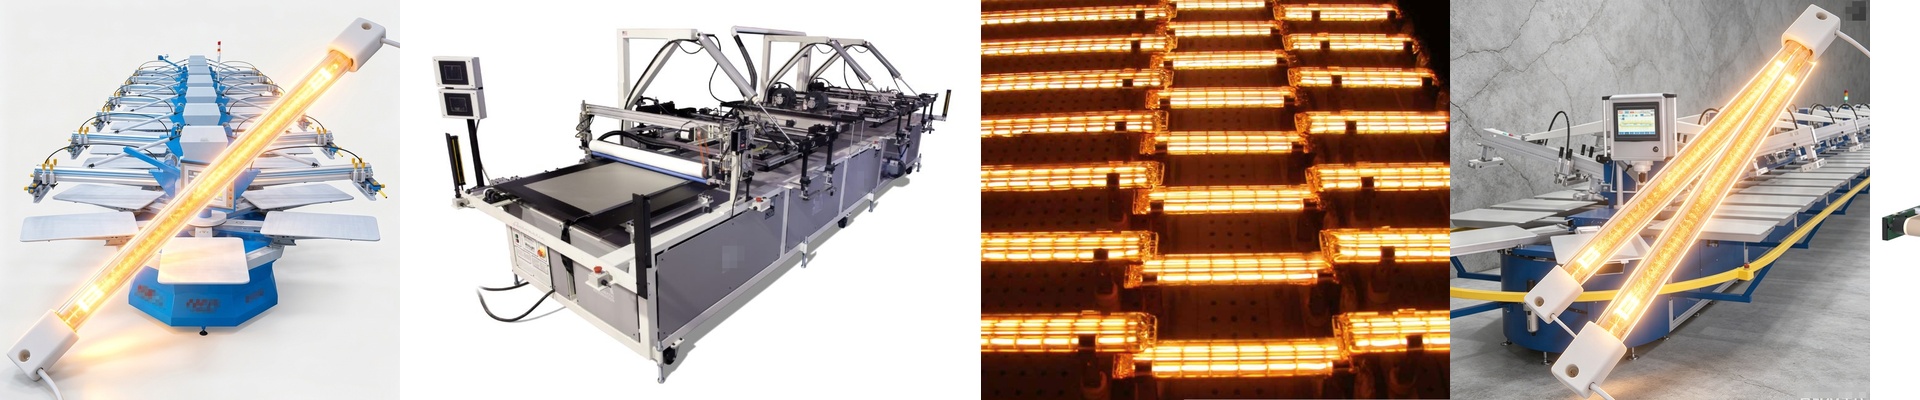
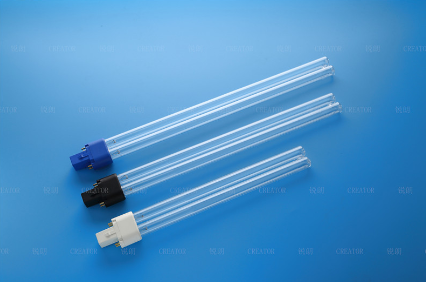
Getting Your UV Lamp Replacement Right
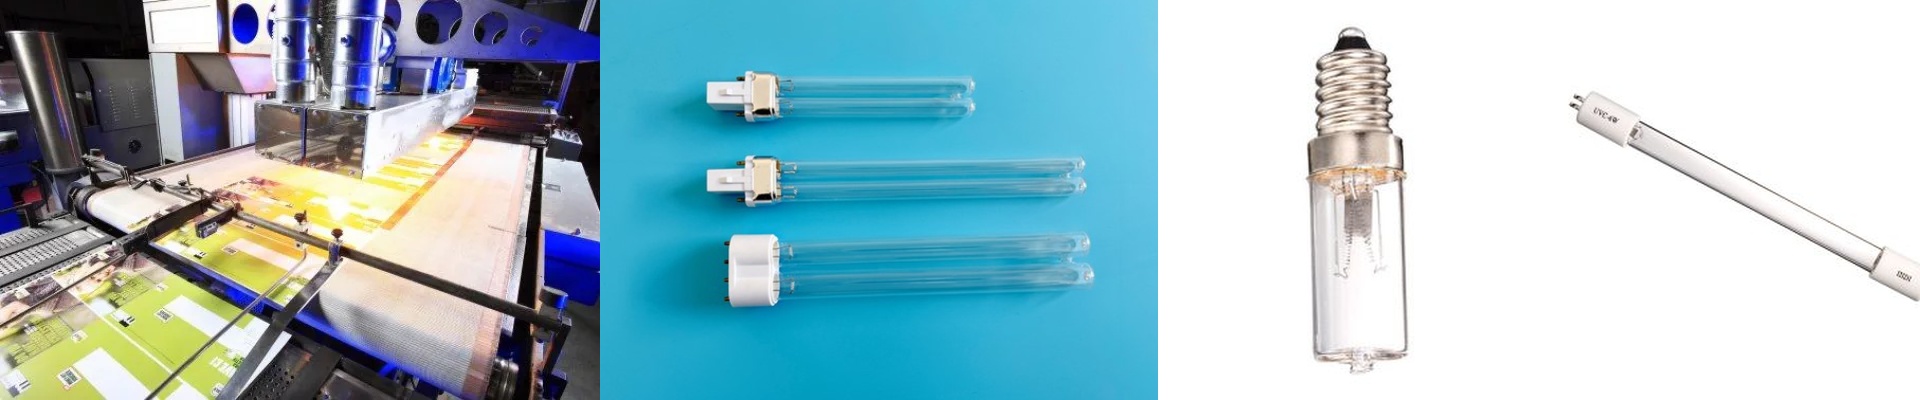
Most people think replacing a UV lamp is as simple as matching a part number. It isn’t. If you get the specs wrong on a printing or curing line, you’re looking at a mess—either ink that stays tacky or substrates that actually scorch. We don’t see this as just swapping out a piece of hardware. It’s more about fine-tuning your whole process.
The Power Struggle
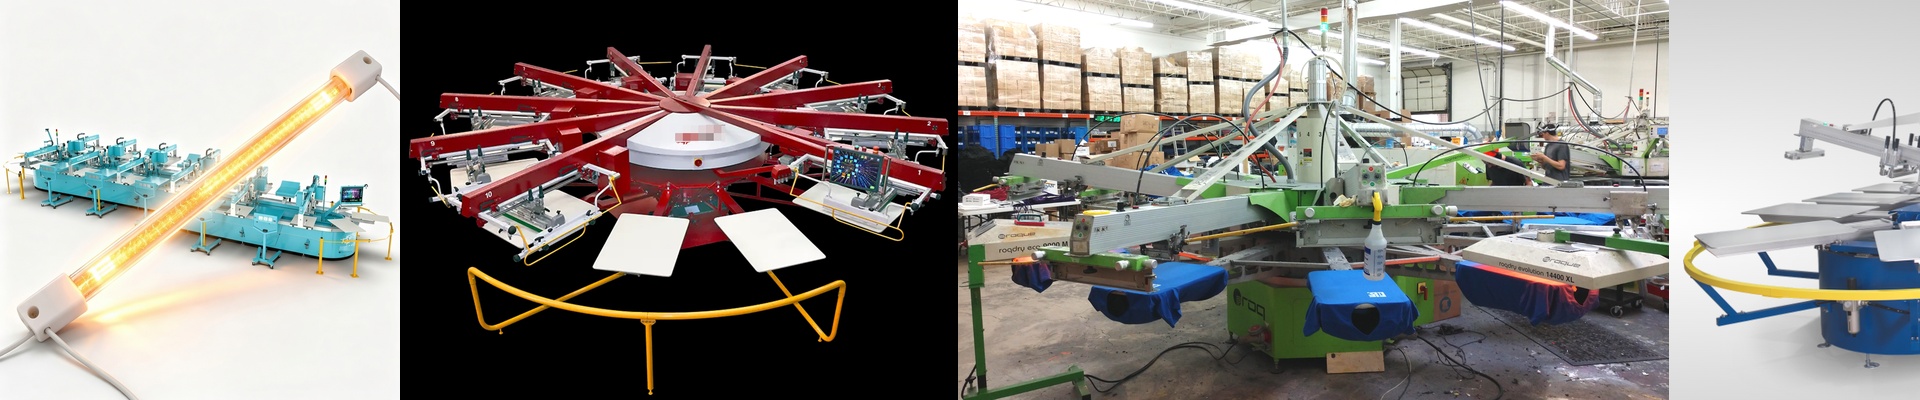
Here’s the thing about UV systems: it’s all about how wattage, voltage, and irradiance play together. You can’t just pump more power into a lamp and expect it to work. If the wavelength peak doesn’t match the photoinitiators in your ink, nothing happens. Period. Plus, high-wattage tubes are great for speeding up your line, but they run hot. Really hot. If your cooling system can’t keep up, you’re just fast-tracking your way to a burnt-out bulb or warped materials.
The Details That Actually Matter
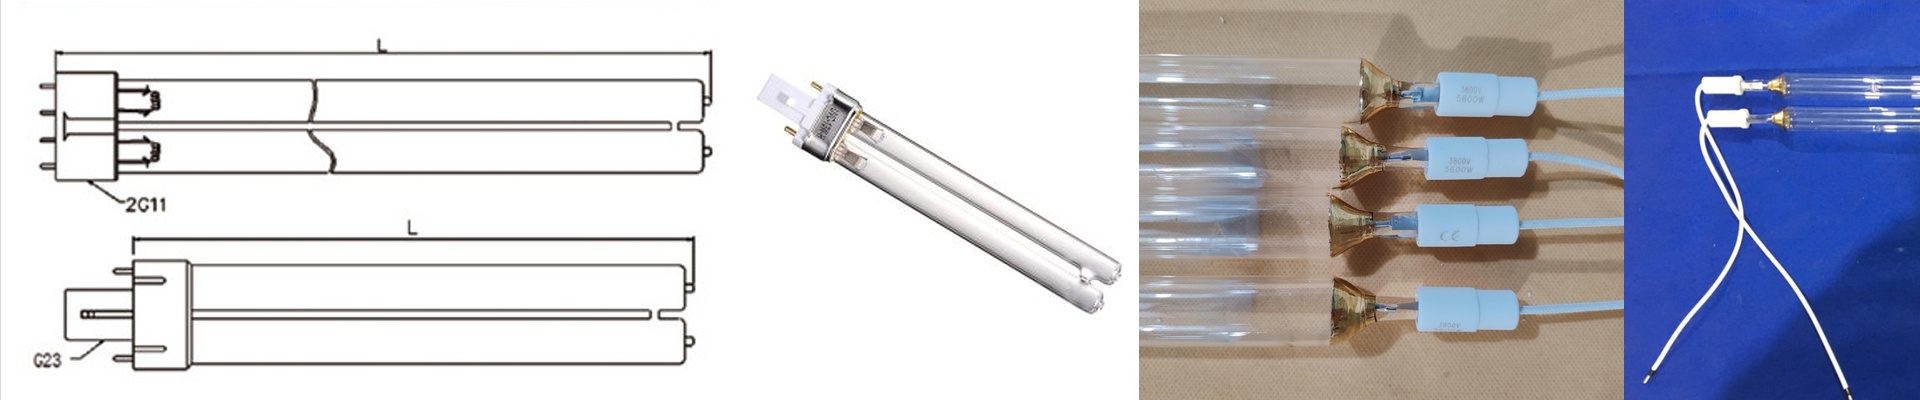
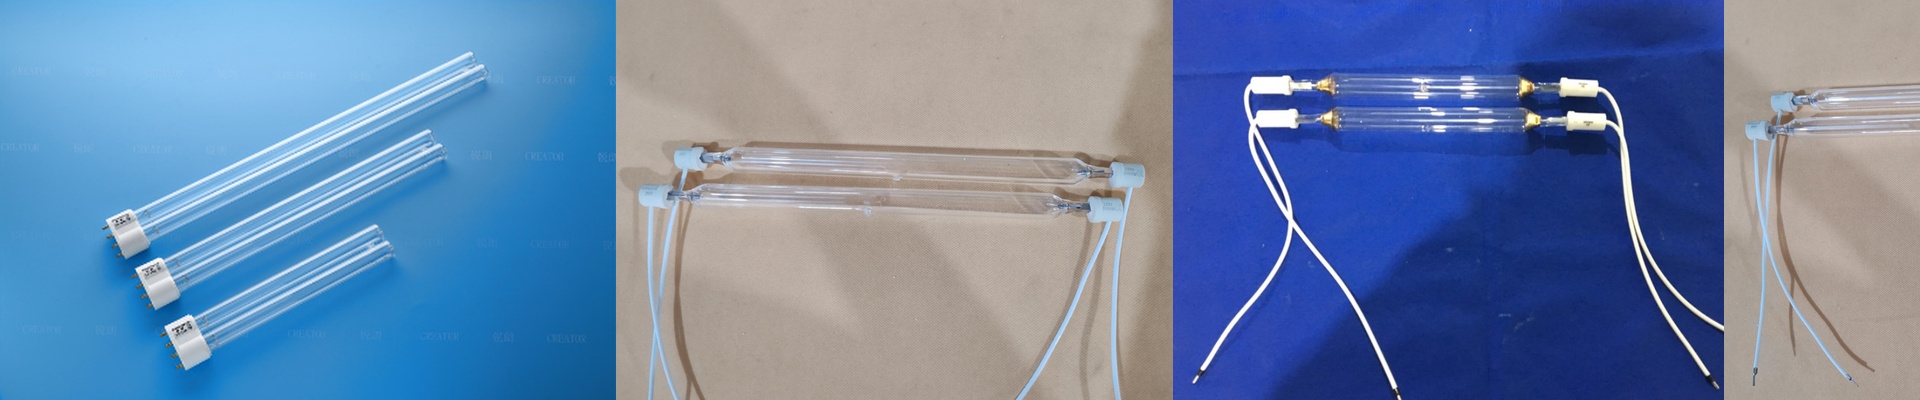
We spend a lot of time obsessing over the quartz grade and the electrodes. Ever notice when glass gets cloudy over time? That’s “solarization.” It blocks the UV light from getting through. Using high-purity quartz stops that from happening. Then there are the connectors. We stick to standardized interfaces because a loose fit at the socket is a nightmare. It creates resistance, leads to arcing, and kills the lamp before its time.
Finding the Sweet Spot
You’re always balancing a trade-off here: intensity versus lifespan. If you run a lamp at full blast, your line moves faster. Great. But you’ll be replacing that lamp every few weeks. We help you find that middle ground where the curing is perfect, but you aren’t spending all your time changing bulbs. And if your curing is still acting up? It might not even be the lamp. It could be a dirty reflector or the lamp is just sitting too far from the substrate. We look at all those little variables to make sure the new lamp actually fixes the bottleneck in your shop.